
Fitness is at the center of what we do.
To Tilla Fit, fitness isn’t optional.
It’s something that every person needs.
Over the past year, we shared 52 reasons WHY people need fitness.
Now we shift to the next question.
HOW do you start?
HOW do you stay consistent?
HOW do you build a lifestyle that lasts?
HOW do you get results?
Over the next 52 weeks, we’ll answer those questions.
Here is week 19 of 52 on HOW to approach fitness.
“How to Squat”
Over the last several weeks, we’ve been teaching you how to build your own workouts.
We’ve covered sets, reps, rest, choosing the right weight, and how many days each week you should exercise.
But now we’re going to take things one step further.
We’re going to teach you how to actually perform the movements.
And we’re starting with one of the most important movements your body can perform.
The Squat.
Why You Should Squat
Think about how many times you squat throughout your day.
You sit down in a chair.
Get off the toilet.
Pick something up from the floor.
Get in and out of your car.
Play with your kids.
These are all activities that require some variation of squatting.
And while most of us don’t think twice about these movements today, our ability to perform them can become increasingly important as we age.
Squatting strengthens some of the largest muscles in our body, including our quadriceps and glutes.
It also challenges our coordination, balance, and ability to move through our hips, knees, and ankles.
And you don’t need to squat 300 pounds.
But you should be working toward maintaining the strength and mobility to squat comfortably for the rest of your life.
Step 1: Learn The Air Squat
Before we start adding weight, let’s learn how to move our own body.
The Air Squat is one of the simplest places to start.
Here’s how to perform it:
1. Find Your Stance
Start with your feet approximately shoulder width apart.
Your toes can point slightly outward.
Everyone’s body is built differently, so experiment with a stance that feels comfortable and allows you to move naturally.
2. Keep Your Feet Planted
Think about maintaining pressure through your entire foot.
Your heel, the base of your big toe, and the base of your little toe should all remain connected to the ground.
3. Push Hips Back
Begin lowering your body by pushing your hips back and bending your knees
Think about sitting down between your legs.
Allow your knees to move naturally in the direction of your toes.
4. Find Your Depth
Lower yourself as far as you comfortably can while maintaining control.
Some people will squat below parallel.
Others may need to start higher.
That’s okay.
Your goal is to gradually improve your movement, not force yourself into a position you can’t control.
5. Stand Tall
Push through your feet and stand back up.
Finish with your hips and knees extended.
That’s one repetition!
Step 2: Struggling to Squat?
Maybe your ankles are stiff.
Maybe you struggle with balance.
Maybe you have an old knee injury.
Or maybe you simply haven’t squatted in years.
That doesn’t mean you can’t work on improving your squat.
It means we need to find an appropriate starting point.
One of our favorite options is the Box Squat.
Place a stable box or bench behind you.
Lower yourself until you’re sitting on the box.
Then stand back up.
This gives you a consistent target and allows you to gradually build confidence and strength.
As you improve, you can experiment with a lower box or transition toward an unsupported Air Squat.
You can also practice a with an assisted Squat Hold which will open your hips, ankles, and knees for reaching the bottom of the squat without so much movement.
Step 3: Make it Challenging
Once you’ve developed confidence in your Air Squat, we can begin increasing the difficulty.
Goblet Squat
Hold a dumbbell or kettlebell near your chest while performing your squat.
Now we’re introducing external resistance and giving your muscles another reason to adapt.
Eventually, you can progress toward heavier dumbbells, barbells, or other variations depending on your goals.
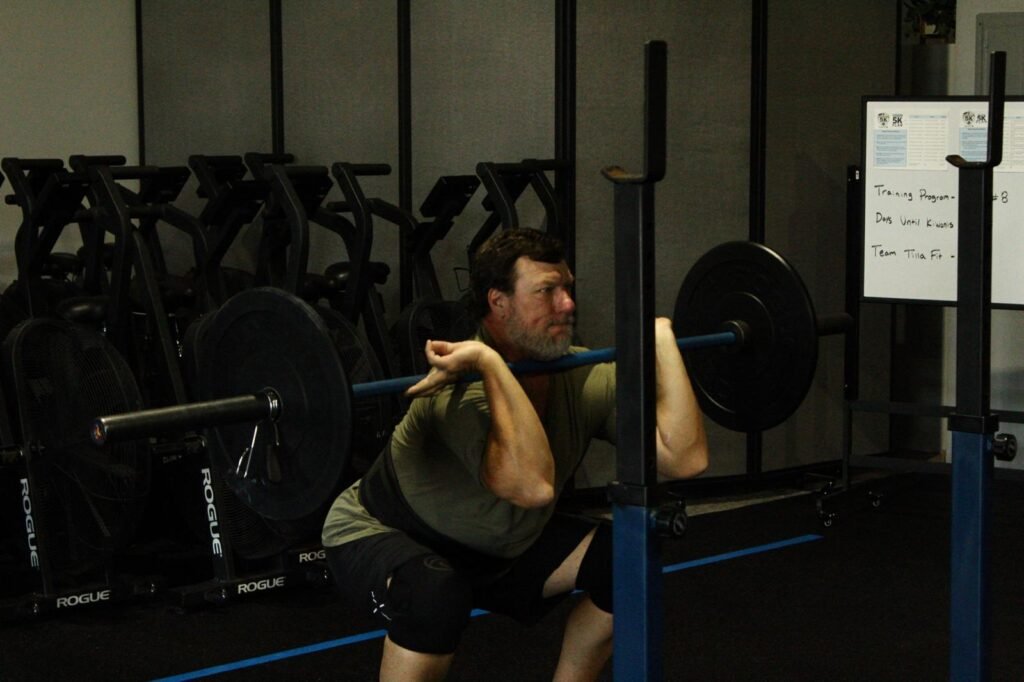
Back Squat
Once you’ve developed confidence with your bodyweight and dumbbell squats, you may be ready to introduce the barbell Back Squat.
This is one of our favorite movements for developing lower body strength and muscle mass.
By placing a barbell across your upper back, we can progressively increase the resistance beyond what most people can comfortably hold in a Goblet Squat.
Tilla Fit YouTube
Our Tilla Fit YouTube Movement Library.
We’re building a collection of exercise demonstrations organized by movement category.
Squats.
Hinges.
Presses.
Pulls.
And more.
Each demonstration is designed to help you understand how to perform a movement and explore different ways to adjust its difficulty.
Whether you’re working out at home, training at an open-access gym, or simply looking for something new to try, we want this to be a resource you can use.
And over the next several weeks, we’re going to continue walking through these movement categories together.
This Week’s Challenge
Find five minutes.
Perform 10 controlled Air Squats.
Pay attention to your feet, knees, hips, and balance.
Then try 10 Pause Air Squats.
Notice how much more challenging the movement becomes when you slow things down.
If either variation is uncomfortable, use a stable box or bench and practice a controlled sit-to-stand instead.
Finally, visit the Tilla Fit Movement Library on YouTube and explore a squat variation you haven’t tried before.